Prevent your leaking chimney from causing costly damage to your property. Knowing how to detect and repair a leaking chimney will help you keep your structure dry and safe.
atlantacommercialroofingcontractors.com gathered information on how to identify leaks in your chimney, what causes them, and how to repair them.
Chimney Leaks
Every functioning chimney has one feature in common, a hole in your property. When the engineering of your chimney fails, it can allow water in, sometimes unnoticed. Here’s how to identify a chimney leak:
- Pooling water near and/or around your fireplace or stove
- Wet spots or streaks running down the wall near your chimney
- Wet spots on the ceiling around your chimney
- Wet framework around your chimney in your attic
- Water or condensation in the firebox
- Sound of dripping or trickling water in the chimney
- Cracked or spalled masonry (internal or external)
- Musty or moldy odors after a rainstorm
Note: While leaks can pop up at any time, most will develop and become evident in the spring and summer after severe, rainy weather events.
Watch this video to see what brick and mortar problems look like on a chimney.
Chimney Leak Causes
Once you suspect that you have a leaking chimney, such leaks can be traced back to one of the following six installation or material defects:
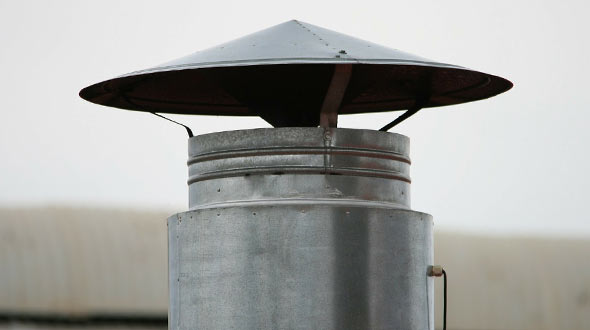
1. Missing or Poorly Installed Chimney Cap – If your chimney is not covered by a chimney cap, it is poorly installed, or it is too small, rain can enter your flue and fall down the chimney, soaking masonry and brick.
2. Damaged Chimney Crown – The chimney crown is a cement cover atop your chimney that protects flue tiles and chimney liner. When the chimney crown is damaged or cracked, water can cause moisture damage throughout the flue system, fireplace, and damper.
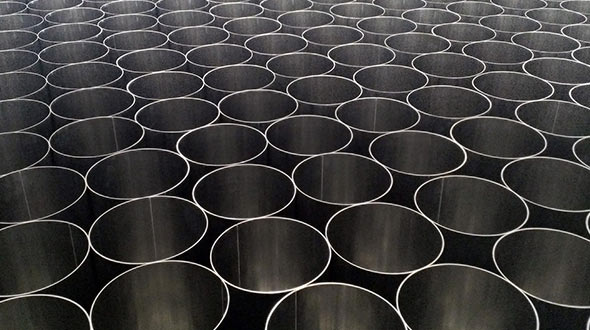
3. Cracked or Missing Chimney Liner – A chimney liner directs combustion byproducts away from your property while protecting the inside of the flue and the chimney’s masonry material from getting soaked by condensation when chimney temperatures cool down.
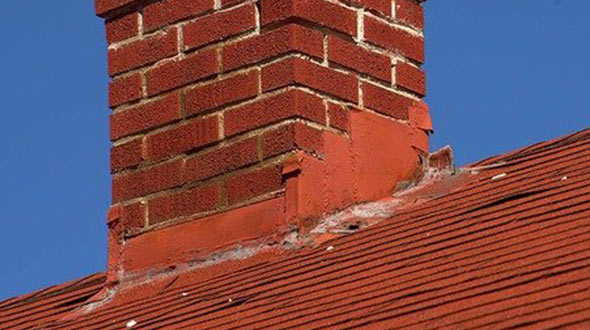
4. Faulty or Poorly Installed Flashing – Flashing is the material used to seal a chimney’s penetration through a roof. This flashing is supposed to divert rainwater from coming through the roof, eventually damaging your chimney and property.
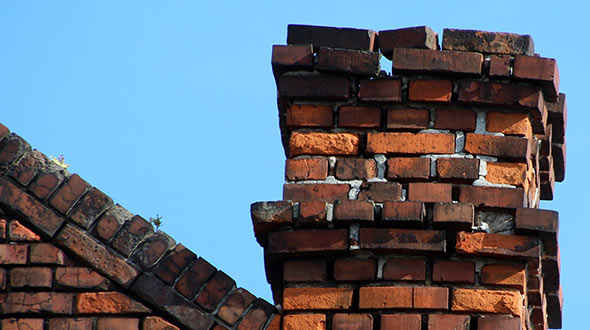
5. Brick and Mortar Damage – The exterior portion of your chimney is exposed to all weather conditions, all of the time. Brick and mortar damage can occur from weathering, poor construction, and/or impacts from uncontrolled vehicles or falling trees.
6. Missing or Damaged Chimney Cricket – Another common cause for chimney leaks is ponding water on the penetration’s uphill side. This ponding water can deteriorate flashing, damage brick and mortar, and result in significant roofing system damage. A properly installed chimney cricket creates a sloped high point to divert water that would otherwise pond against the chimney.
Now that you have located the source of your chimney leak, repairs should begin immediately to prevent further damage to your chimney or property.
Repairing Chimney Leaks
Some chimney leaks can be repaired by the property owner, while other repairs may require professional assistance. Consider the following:
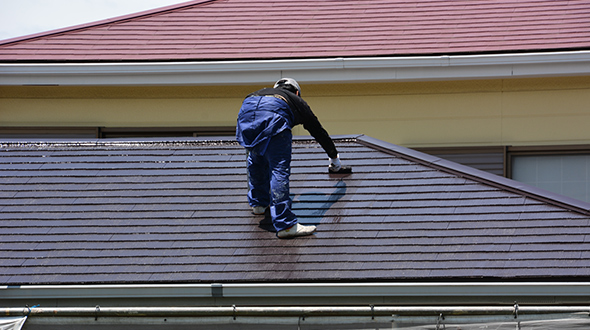
1. Installing or Replacing a Chimney Cap – If you can safely get on your roof (only perform this work with proper fall protection), the following steps will help you properly install a chimney cap:
- Measure the flue at the chimney top
- Purchase an appropriately sized chimney cap (the bonnet or roof of the cap should be twice as large as the flue opening)
- Read the instructions and gather the tools you will need
- Install the chimney cap according to the manufacturer’s instructions
- Make sure all fasteners are tightly secured, and the cap is securely in place
Tip: Stainless steel caps are generally higher quality and more durable.
2. Repairing or Replacing a Chimney Crown – This repair can be done as a temporary or permanent fix. Consider the following:
- (Temporary) Seal a cracked chimney crown with silicone caulking, an elastomeric coating, or other sealants as a temporary fix.
- (Permanent) Remove the damaged crown, build a wooden form (to hold the cement in place until fully cured), add rebar (to strengthen the crown), and pour a good quality cement mixture into the form and over the rebar.
Note: The temporary fix above will likely last two or three years before failing.
3. Installing a Chimney Liner – Installing or replacing a chimney liner is an easy project for property owners that enjoy DIY projects. (The following configuration will connect to a stove pipe. There are multiple configurations for different chimneys and/or appliances.) The following steps will help you install a new chimney liner:
Step 1 – Gather the tools you will need:
- Cutting or razor knife
- Flathead screwdriver
- Caulk gun
- Protective work gloves
- Safety glasses
- Hacksaw or Electric grinder
- Power drill
Make sure your tools and equipment are in good working condition.
Step 2 – Assemble the chimney liner kit:
- Stainless steel chimney liner
- Connector (some installations may require a two-part tee connection)
- Top plate
- Rain cap
Note: Chimney liner kits can be customized to fit any chimney and/or appliance/fireplace.
Step 3 – Remove the plastic wrap the liner is coiled in. Straighten the liner, making sure to avoid puncturing it. Straighten the liner out as well as you can.
Step 4 – Connect the tee to one end of the chimney liner. Use a tee with a looping hose clamp to avoid drilling screws through the liner.
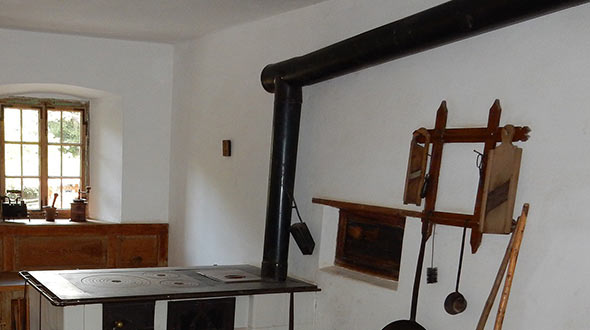
Step 5 – Insert the liner and tee (tee first) down the chimney flue. Lower the liner until you reach the thimble (the thimble is the hole on the side of the chimney where a stovepipe is attached).
Step 6 – Complete the tee connection installation:
- Insert the horizontal part of the tee (hose clamp end first) into the thimble.
- Work the vertical part of the tee through the horizontal hose clamp until the edges of the tee are inside the horizontal section.
- There is a worm screw inside the horizontal part of the tee. Tighten the worm screw until the two parts of the tee contact each other.
Step 7 – Connect the stovepipe. Stovepipes typically come with three screws per connection joint. Drive the screws into the horizontal part of the tee and through the stove’s exhaust collar.
Step 8 – Install the top plate:
- Run a bead of silicone sealant along the top edge of the flue
- Run the chimney liner through the top plate and place the top plate squarely atop the flue
- Center the top plate on the flue and secure the top plate by screwing in the locking bolts to the sides of the flue.
- Cut the excess liner, so it is flush with the top edge of the top plate.
- Once the liner is cut flush with the top plate, tighten the worm screw, so the hose clamp tightens around the liner.
- Install the cap over the top plate, and tighten the clamp to secure it in place.
Note: When chimney liners are purchased as a kit, all of the pieces requiring assembly should be fitted, only requiring simple fasteners.
4. Repairing Damaged or Installing New Flashing – Over time, flashing can be damaged by severe weather, material decay, or time. Similar to replacing caulking around door or window joints, scrape away the old caulking and reapply with a sealant. You can also find two-part kits containing a reinforcement fabric and elastomeric sealant. Utilizing a fabric with the sealant will increase its life. This repair, however, will only provide a few years of chimney leak relief.
If your chimney flashing is deteriorating, it is likely that your roofing system may be in decline. Read more about flashing and you will understand its purpose and the various types.
5. Repairing Brick and Mortar Damage – This type of repair requires the replacement of the damaged brick and mortar. Short-term solutions like caulking will only last for a matter of months.
If you are not comfortable with masonry, hire a trusted handyman or contractor to remove and replace damaged or cracked bricks and softening mortar.
6. Replacing or Installing a Chimney Cricket – Replacing and/or installing a chimney cricket is considered a major chimney repair. This repair should only be performed by a trusted chimney service or a professional roofing company.
Watch this video to see a well-installed chimney cricket.
Note: If you have any doubts or difficulties regarding any of the chimney leak causes and/or repairs mentioned in this article, contact a professional chimney service or roofing company to perform the needed repairs.
If after reading the article you have ruled out the chimney and think something else may be causing the leak, read this article to learn 3 other roof leak causes and solutions.
Chimney Leaks and Repairs
In this article, you discovered how to identify chimney leaks, their causes, and how they can be repaired.
By taking swift action to halt and repair chimney leaks, you are protecting your property from extensive water damages and costly repairs.
Ignoring the need to repair your chimney can result in catastrophic damages requiring thousands of dollars in professional repairs.
Sources:
csia.org/fireplace_anatomy.html
putnam.cce.cornell.edu/energy/heating-with-wood/wood-stove-safety
uidaho.edu/-/media/UIdaho-Responsive/Files/Extension/topic/forestry/WFS5-Chimneys.pdf
ideals.illinois.edu/bitstream/handle/2142/54670/1206810_F7_0_1945_chimneys_and_fireplaces_opt.pdf?sequence=2&isAllowed=y