What is a cool roof? Simply put, it’s a type of roofing that reflects the sun’s heat rather than absorbing it, leading to a cooler and more comfortable indoor environment. This article will guide you through the science, materials, and benefits of cool roofs, equip you with essential knowledge, and prepare you to consider whether a cool roof suits your building.
Key Takeaways
- Cool roofs utilize materials with high solar reflectance and thermal emittance to reflect sunlight and release heat, thereby lowering building temperatures and improving energy efficiency.
- Despite offering significant energy savings, particularly in hot, sunny climates, cool roofs also offer an array of benefits, including lower energy usage, reduced heat island effect, and improved indoor comfort and health.
- When considering cool roofs, it’s essential to factor in climate, building type, installation costs, and available financial incentives; professional installation is recommended to ensure quality materials, correct installation, and protective warranties.
Defining Cool Roofs: The Basics
Imagine a roof that, instead of absorbing sunlight and raising the temperature within your home or office, reflects that sunlight and keeps your indoor spaces cooler. That, in essence, is a cool roof. Unlike traditional roofs, which can absorb heat and contribute to the heating of both your building and the surrounding air, cool roofs are designed to reflect sunlight and release heat, thus keeping your building cooler.
This is achieved by using materials that have high solar reflectance and thermal emittance, allowing these roofs to keep their surface temperatures lower than those of their traditional counterparts. The good news is that advancements in cool roof materials now allow for various colors, including darker hues, to retain these energy-efficient properties without compromising on aesthetics.
Essential Components of Cool Roofs
Two key components drive the effectiveness of cool roofs: high solar reflectance and high thermal emittance. Due to their superior solar reflectance, their design enables them to reflect more solar energy than conventional roofs. This doesn’t mean your roof has to be white or a light color, as recent advancements in roofing materials allow cool roofs to come in various colors while still maintaining high solar reflectance.
Additionally, cool roofs have the following benefits:
- High solar reflectance, which reduces heat absorption
- High thermal emittance, which allows for effective heat discharge
- Greater energy efficiency
- Cooler indoor temperatures
These benefits make cool roofs a great choice for improving energy efficiency and maintaining comfortable indoor temperatures, proving how cool roofs work.
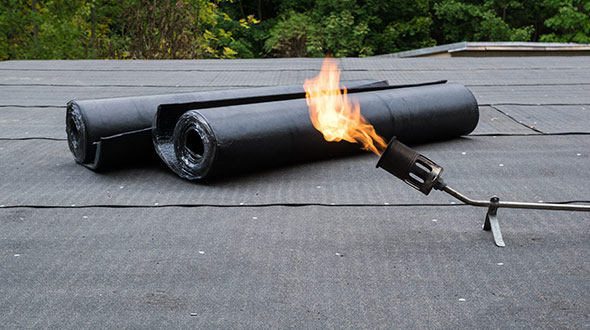
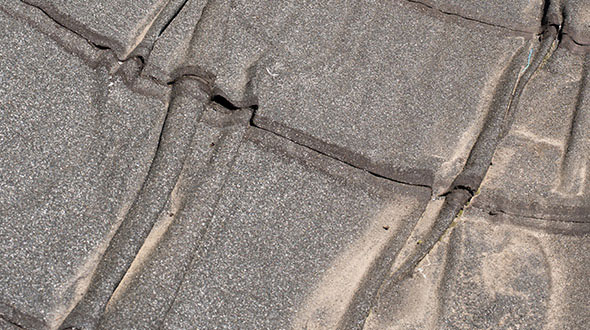
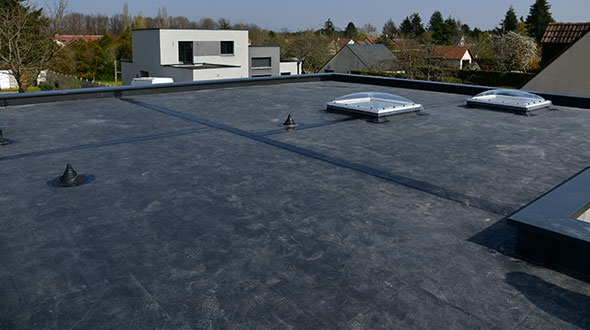
Types of Cool Roof Materials and Coatings
The cool roof market offers a plethora of materials and coatings, including:
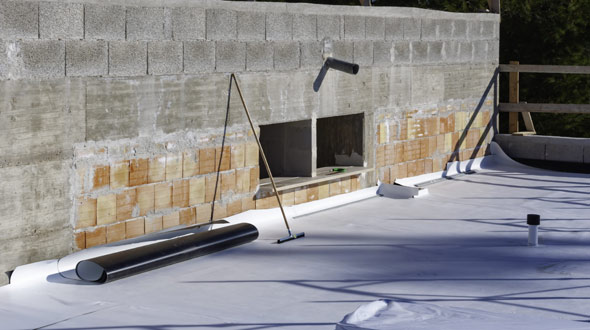
- Membranes
- Shingles
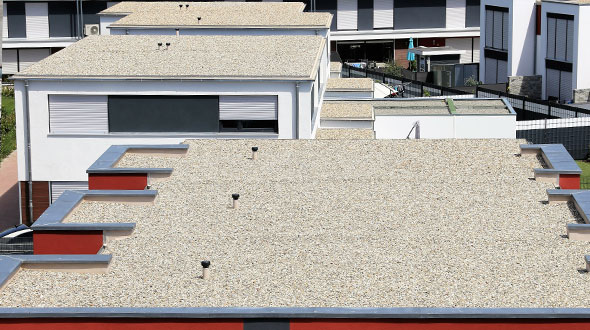
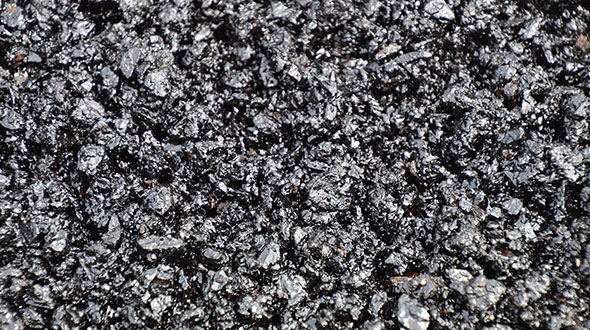
- Stone or rock
- Metal
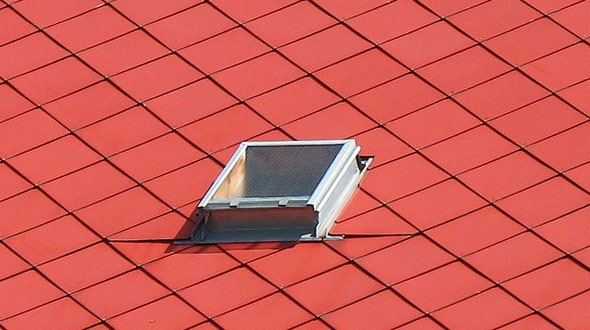
- Tile
All of these materials possess high solar reflectance. They not only come in various colors but they are also engineered with technologies that maintain high solar reflectance and thermal emittance, regardless of their hue.
However, it’s worth noting that in warm, moist climates, light-colored cool roofs may display algae or mold growth more than dark roofs. This calls for coatings with mold-prevention chemicals. Fortunately, multiple roofing products meet the cool roof criteria based on their solar reflectance, broadening the range of options for various roof coverings.
Advantages of Cool Roofs for Homeowners and Businesses
Cool roofs offer a myriad of benefits for both homeowners and building owners. From reducing energy consumption to extending roof lifespan, these innovative roofing systems are a game-changer in our increasingly eco-conscious world. Allow us to explore these benefits in greater detail.
Energy Savings and Environmental Impact
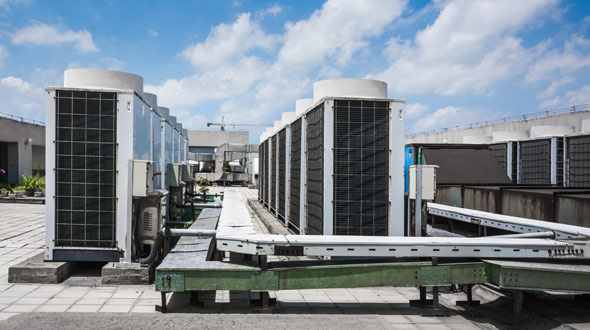
One of the most significant benefits of cool roofs is their energy-saving potential. These roofs yield significant energy savings by reflecting more sunlight and absorbing less heat, especially in hot, sunny climates. Cool roofs decrease the need for air conditioning due to their ability to reflect more sunlight and absorb less heat. The benefits of cool roofs include:
- Up to 15% reduction in energy use for air conditioning in single-story homes
- Lower electricity bills
Furthermore, cool roofs offer several environmental benefits, including:
- Reducing total energy consumption
- Lowering air pollution and greenhouse gas emissions
- Contributing to the reduction of the urban heat island effect
- Preventing heat accumulation in built environments
- Influencing the formation of ground-level ozone, which is heat-dependent.
Comfort and Health Benefits
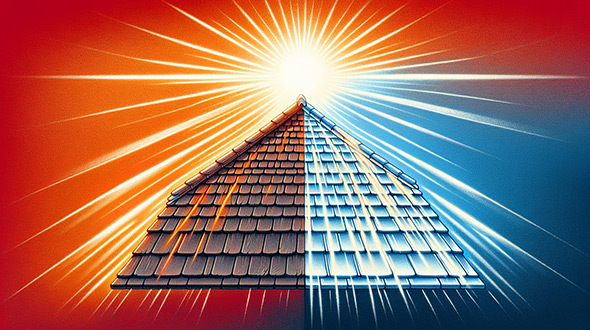
Beyond energy savings, cool roofs also offer substantial comfort and health benefits. They can lower maximum indoor temperatures in non-air-conditioned buildings by up to 3.3 degrees Celsius (5.9 degrees Fahrenheit), improving indoor comfort during warmer climates. A white-coated cool roof can stay up to approximately 55 degrees cooler than a traditional dark roof on a typical summer afternoon, reducing heat transfer into the building and cooling costs.
Moreover, reducing indoor temperatures through cool roofing can alleviate health issues such as heat exhaustion and respiratory difficulties, especially in warm climates. By lessening the incidence of heat-induced mortality and heat-related illnesses, cool roofs can positively impact human health.
Factors to Consider When Installing a Cool Roof
Several aspects must be evaluated before proceeding with cool roof installation. Firstly, cool roof efficiency is highly dependent on the climate, being more effective in hot, sunny conditions. Hence, assessing your geographical location and prevailing weather conditions is critical to the decision-making process.
Secondly, selecting a cool roof should account for the building’s type, existing roof insulation, and any specifics regarding the roof slope. Balancing the energy savings and other benefits with any potential costs linked with cool roof installation is also a necessary step.
Costs and Financial Incentives for Cool Roofs

When it comes to costs, cool roofs can be more cost-effective when installed on a new building or during the replacement of an old roof, although adding them during a roof’s lifespan or as a coating is also possible. Installation costs for cool roofs vary, with expenses ranging from $0.15 to $3 per square foot, depending on whether you’re applying a cool roof coating, which is less expensive, or installing single-ply cool roof membranes, which are on the higher end of the cost spectrum.
The good news is that homeowners can benefit from a 26% federal tax credit for residential solar cool roof installations. Additionally, various local, state, and federal programs offer financial incentives for cool roof installation, such as the SRP Cool Roof Rebate Program, which provides a rebate of 30 cents per square foot, subject to certain conditions.
How to Choose the Right Cool Roof Product
Selecting a suitable cool roof product entails more than merely choosing a color. Online databases are valuable tools for researching the various cool roof products available in the market. A noteworthy resource is the Cool Roof Rating Council (CRRC), which maintains a comprehensive online database that lists cool roof products and their performance ratings, aiding in comparison and selection.
Nevertheless, choosing an appropriate cool roof product should consider location and climate, as performance requirements can significantly differ. It’s also crucial to assess specific needs such as building type, roof design, and energy-saving goals in relation to the qualities and performance ratings of cool roof products listed by the CRRC.
Green (Vegetative) Roofs: An Alternative Approach
For those looking for alternatives to cool roofs, a conventional roof with a green roof system might be a viable option. These roofs can be categorized as extensive, simpler, lightweight, low-maintenance systems, or intensive, which are more complex, replicating traditional parks or gardens and requiring more maintenance and structural support. A typical green roof includes multiple layers, including a vegetative layer, a growing medium, and a drainage layer, among others.
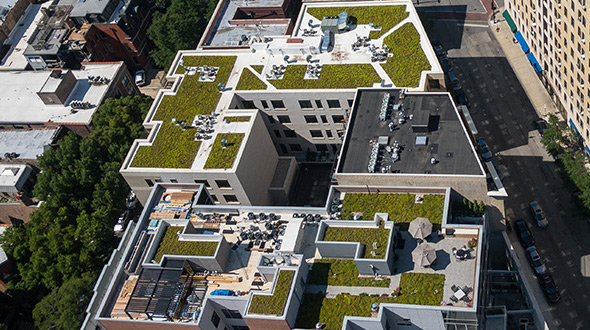
Beyond providing cooling and insulation to buildings, green roofs also offer environmental benefits by enhancing aesthetics, supporting natural habitats, and potentially benefiting mental and physical health. They present a unique approach to roofing that combines aesthetics, functionality, and environmental consciousness.
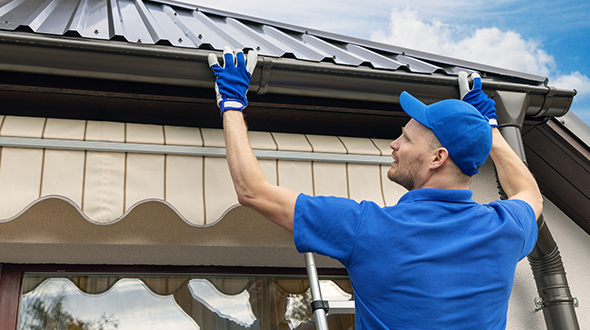
Hiring a Professional vs. DIY Installation
Though the concept of DIY cool roof installation might seem attractive, opting for professional roofers offers numerous advantages. For starters, professional roofers have access to high-quality materials that are essential for a durable and long-lasting roof. They also employ proper installation techniques, ensuring that every aspect of the roof is installed correctly for optimal durability.
Moreover, professional roof installations come with warranties that offer additional protection for homeowners. Experienced roofers are trained to follow industry best practices and manufacturer guidelines, which contributes to a structurally sound roof. They can also provide regular maintenance services that can significantly extend a roof’s lifespan.
Cool Roof Summary
In conclusion, cool roofs present a compelling solution to the increasing demand for energy efficiency and environmental consciousness. With their ability to reflect sunlight and release heat, these innovative roofing systems not only reduce energy consumption and greenhouse gas emissions but also provide comfort and health benefits. Whether you’re a homeowner or a business owner, it’s certainly worth considering a cool roof for your building.
Cool Roof Frequently Asked Questions
What is a cool roof?
A cool roof is a roofing system that reflects sunlight and releases heat, keeping buildings cooler and more energy-efficient than traditional roofs.
What are the benefits of cool roofs?
Cool roofs offer reduced energy consumption, decreased greenhouse gas emissions, improved indoor comfort, and extended roof lifespan, making them a highly beneficial choice for buildings.
What factors should I consider when installing a cool roof?
When installing a cool roof, consider your geographical location, building type, existing roof insulation, roof slope, and cost. These factors will help you make an informed decision.
How much does it cost to install a cool roof?
Installing a cool roof can range from $0.15 to $3 per square foot, depending on the type of cool roof system you choose. Consider your options carefully to find the best fit for your budget.
Can I install a cool roof myself?
No, hiring a professional roofer is recommended for proper installation, access to high-quality materials, and warranty protection.
(404) 220-9288
The post What is a Cool Roof? appeared first on atlantacommercialroofingcontractors.com